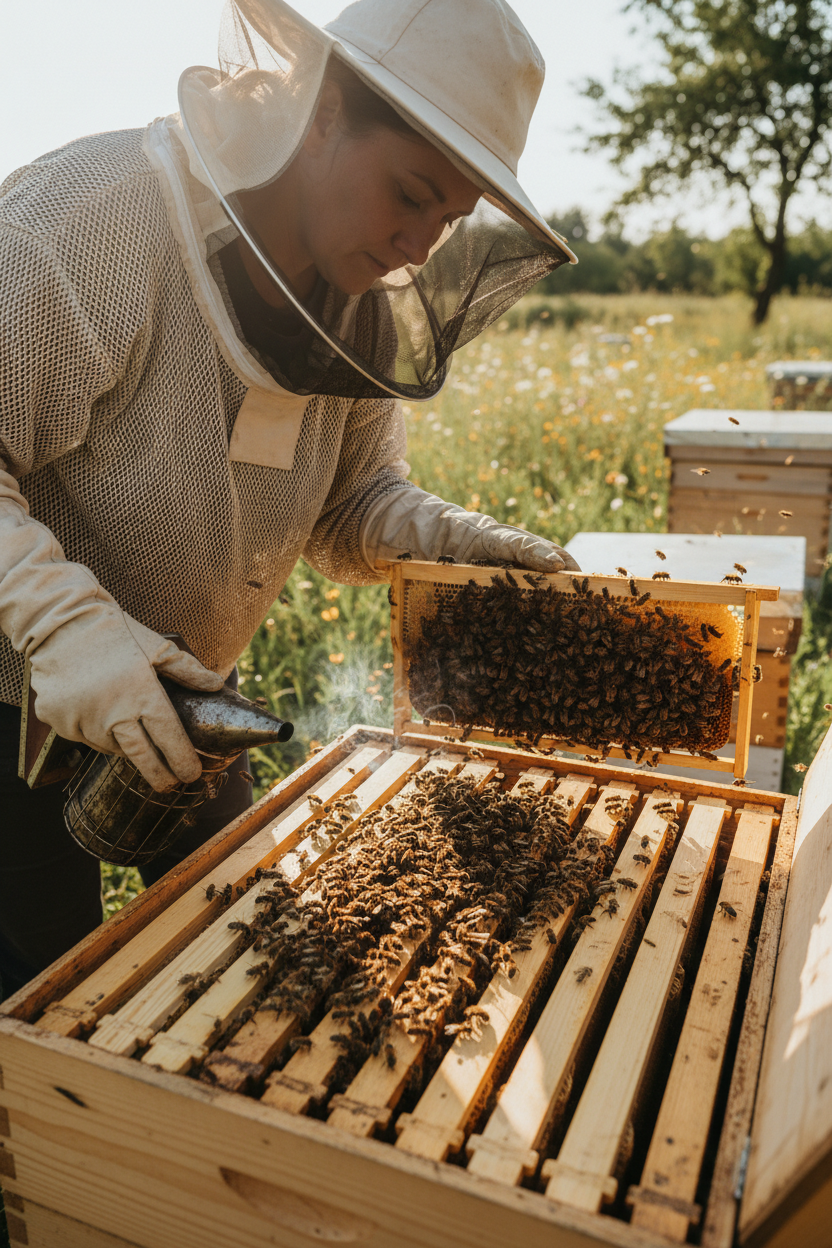
Master the Bailey Comb Change technique
If you have old, potentially disease-prone brood comb, we recommend replacing it with fresh foundation, which should be done every 1 to 3 years.
Invented in the the 1950s by Dr Leslie Bailey, the Bailey Comb Change method is a technique used to change brood comb. It is an early spring hygiene method that involves moving the queen to a new top box of foundation, separating her with a queen excluder, and waiting for lower brood to emerge.
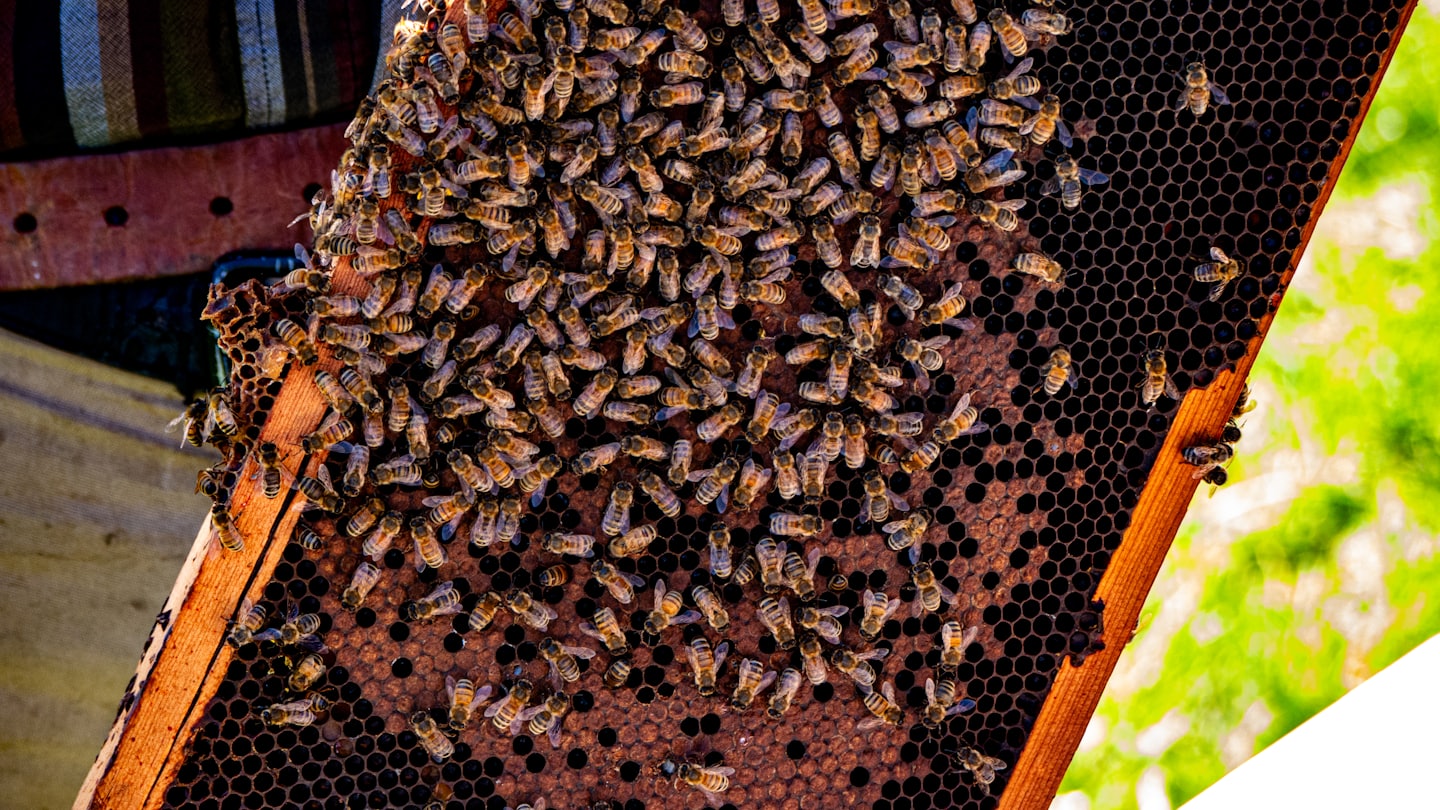
Step-by-step guidance
Follow our instructions designed to simplify the comb change process for beekeepers of all levels.
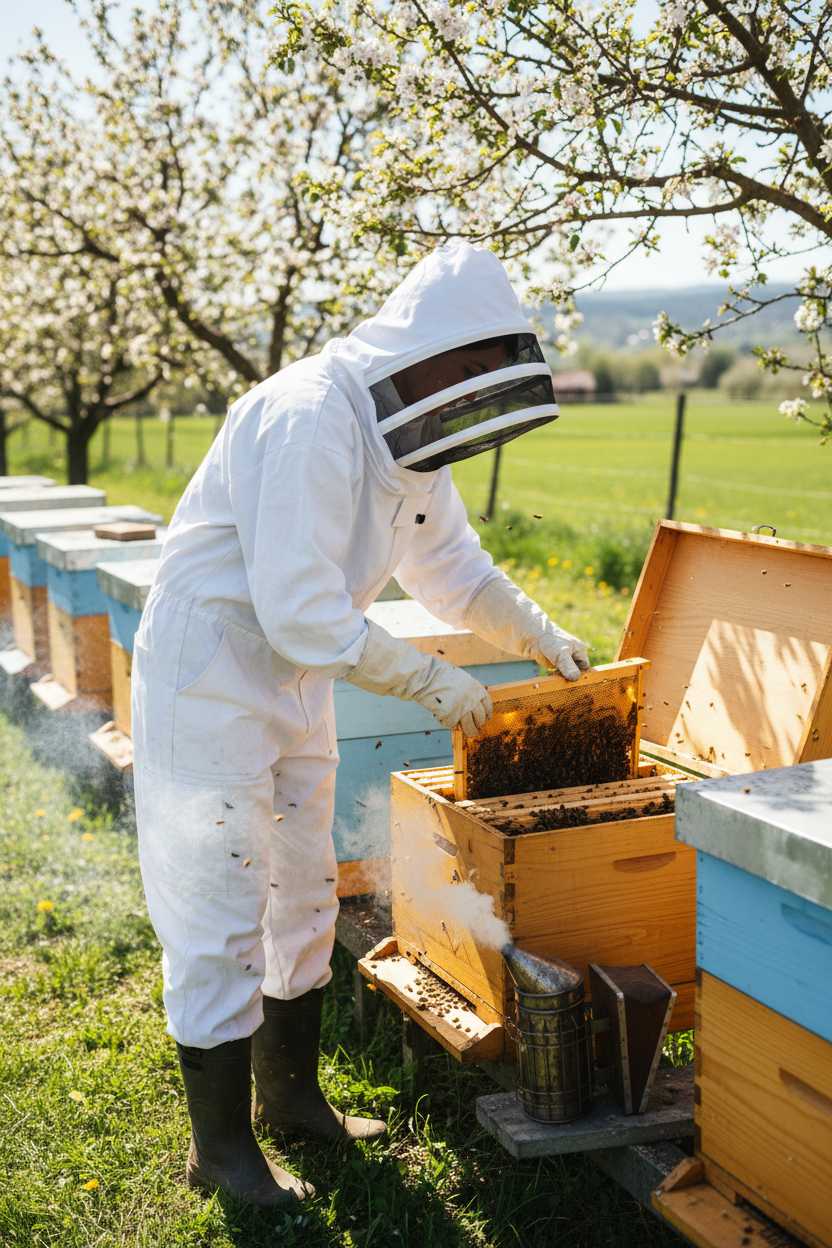
Practical help
Understand the different methods required for strong or weak colonies of bees to ensure success.
Understanding the Bailey Comb Change Method
Explore our detailed guide that walks you through each stage of the Bailey Comb Change, ensuring beekeepers of all levels can confidently apply the technique.

Preparation: Assessing Your Colonies
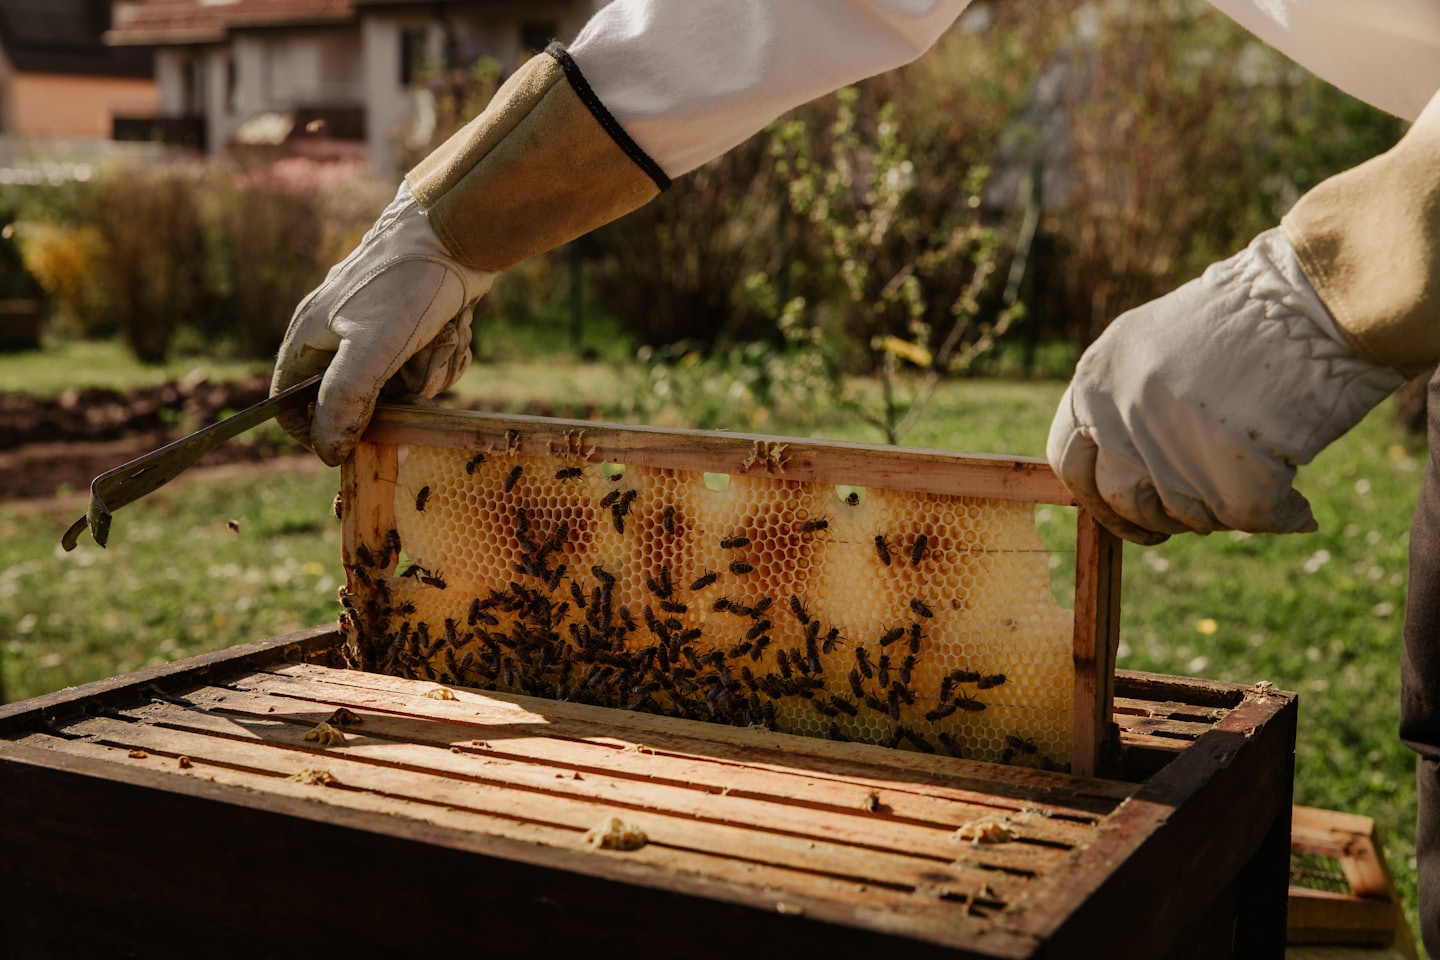
Begin by evaluating the strength of your colonies by estimating the adult population, the amount of brood and food stores – A strong colony in Spring will typically cover 5-6 frames of varied brood, whereas a weak colony will cover 4 or fewer frames.

Step Two: Performing the Comb Change
Follow the proven steps to replace old combs with new ones, tailored for both weak and strong hives, to promote colony health and productivity.

Visual Guide and Tips
The clear, simple illustrations below and expert advice are designed to help you execute the Bailey Comb Change technique effectively.
Improving hive hygeine
A Bailey Comb Change is one way of putting your bees on new comb at the start of the season when the colony starts to build-up.
It involves forcing the queen into a new, upper brood box, restricting her with a Bailey board or Queen Excluder, and letting the old brood hatch out over 3-6 weeks before removing it.
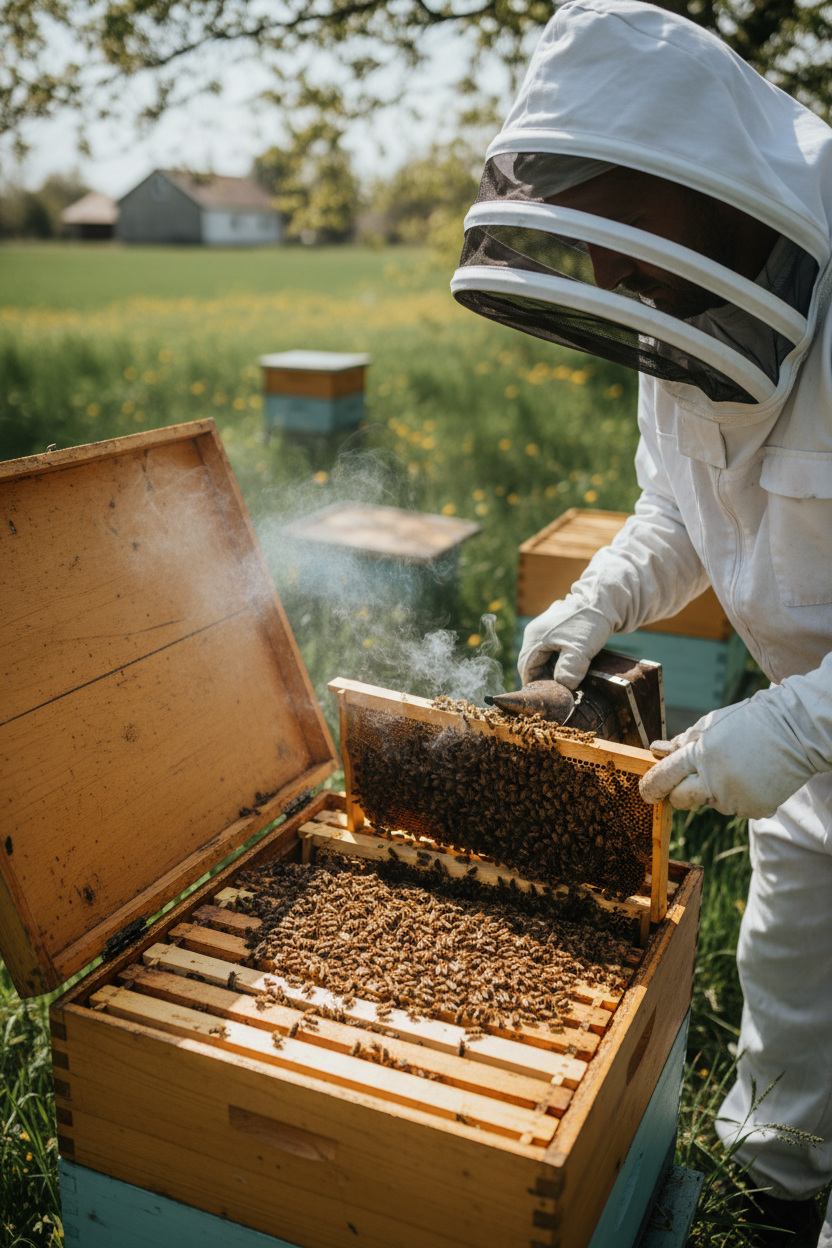
Frequently Asked Questions (FAQs)
How do I prepare my hive for the Bailey Comb Change?
Begin by assessing colony strength and gathering the necessary equipment to ensure a smooth transition – A strong colony will draw-out comb on new foundation, while a weak colony requires clean drawn comb to survive the process.
Can the Bailey Comb Change be done on weak colonies?
Yes, with proper checks and gentle handling, the method supports both weak and strong hives effectively. Different approaches are required as a weak colony will fail to draw new foundation and may die if subjected to the stress of a full comb change in cold weather.
What are the main steps involved?
The process includes inspecting frames, introducing an additional brood box, removing old combs, and introducing fresh ones while monitoring the colony’s health as outlined below.
When should I perform the Bailey Comb Change?
Typically, it’s performed every 1-3 years at the point when comb quality declines and cannot maintain hive vitality, and ideally in March or April on a warm day (above 14 oC).
What are the benefits of changing the comb?
By changing all the frames, you will remove any pathogens that are present in the old wax. Also, the older the foundation, the smaller the cells become each time they are used which can affect the size of the larvae and adult bees.
What is a Bailey Board?
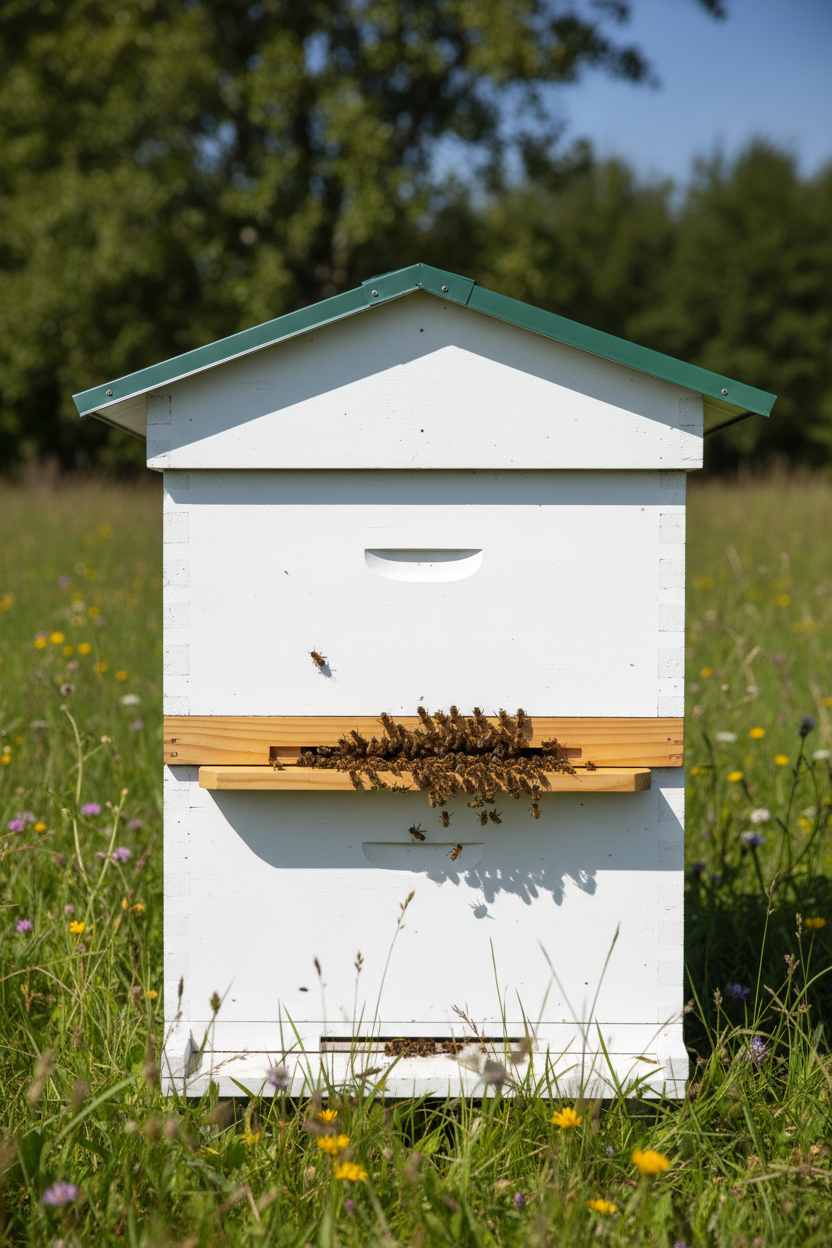
Not essential for the process, a Bailey board (or eke) is a shallow, specialised wooden rim used to facilitate the “Bailey Comb Change” technique. It separates an old, pathogen-laden brood box from a new one, incorporating an upper entrance to encourage workers to abandon the lower box with older frames.
What equipment do I need for the Bailey Comb Change?
Essential equipment includes: a new clean brood box and replacement frames (frames with clean drawn comb for a weak colony, foundation is sufficient for a strong colony), an entrance blocker, an additional queen excluder or Bailey board, contact feeder (with heavy syrup) plus dummy boards for a weak colony.
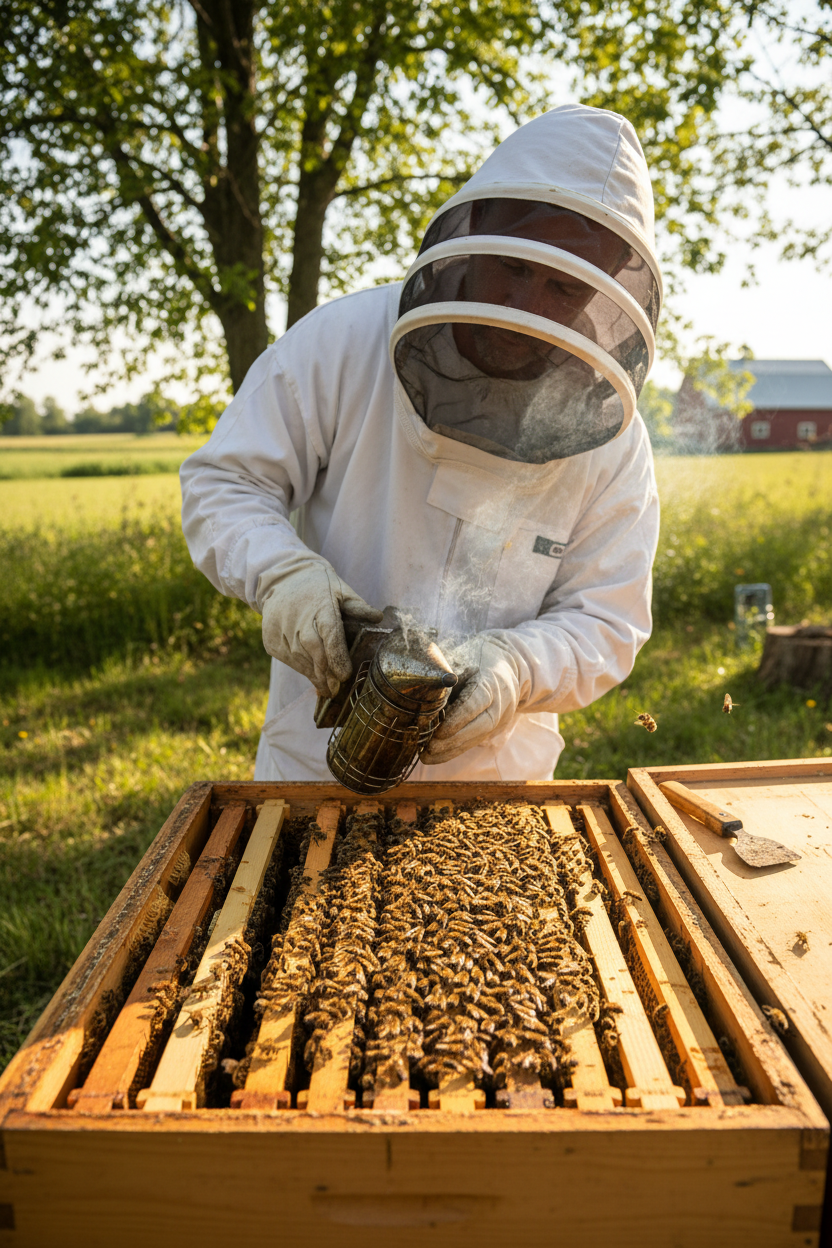
A strong colony
A strong colony has bees covering a at least 5 frames with a minimum of 3 frames of varied brood in all stages. The bees will be active and purposeful, foraging and collecting pollen on a warm spring day.
Week 1 – Place the new brood box over the old one. Put on a clean crown board. Unless there is a strong nectar flow, feed with heavy (2:1) Sugar Syrup.
Week 2 – When the bees have drawn out some of the foundation, find the queen and place her in the upper brood box.
Place a queen excluder over the old brood box and under the new, trapping the queen in the upper box. If possible, make a new hive entrance between the two brood boxes and close off the old entrance – use a Bailey Board to separate the two brood boxes if you have one.
Continue to feed until most of the foundation in the upper box is drawn out.
Week 3 – Carefully check the lower brood box and remove any queen cells. Replenish the feed.
Week 5 – The brood in the old brood box will have hatched. Remove the upper entrance and old brood box.
Place the upper brood box on a clean hive floor, put on a queen excluder and reinstate the original lower entrance.
Add a super if needed and render the wax from the old brood box.
A weak colony
This is a method of transferring a weak colony onto new drawn comb without loss of brood and with as little stress as possible for the bees.
A weak colony covers fewer than 3-4 frames, often in a patchy brood pattern, and has a subdued activity with low-traffic, or no pollen being brought in.
Week 1 – Remove all food frames from the original brood box.
Take the frame with the queen on and place it into the new brood box along with clean drawn frames, above the lower brood box (matching the number of drawn combs with the number in the bottom box).
Close up the space in the upper box with dummy boards. Put on a queen excluder and new entrance block (or a Bailey Board if you have one). Put on a clean crown board and feed with heavy (2:1) Sugar Syrup.
Week 2 – The queen in the upper box should have moved onto the new frame. Remove the old frame and return it to the bottom box, swapping it with a new drawn frame.
Add 2 or 3 more drawn sterilised frames and close up with dummy boards. Carefully check the lower box for queen cells and remove any if found, although this is unlikely with a weak colony. Continue to feed.
Week 3 – Add a few more drawn (sterilised) frames in the top brood box and replenish the feed.
Week 4 –Remove the queen excluder and upper entrance (or Bailey Board), lower brood box and old floor.
Place the upper brood box onto the clean hive floor and reinstate the original entrance. Continue to add drawn (sterilised) frames as needed until the brood box is full.
Dispose of old frames as appropriate and continue to feed if required.